This month, in connection with St. Patrick's Day and the coming of Spring with all its fresh green colors, Lil' Em and I have been talking about the color GREEN. Even though she can identify her colors already, I still love to reinforce the concept. I have a strong affection for color. When life allows me to paint, I love making my own colors. I pulled out some blue paint and yellow paint I had around the house and let the lesson and adventure begin. Here is what you'll need:
Blue paint, yellow paint, a mixing tool-I used a paintbrush, mixing bowl-I used a recycled yogurt container that has BIG sides, sheets of paper, blue marker, yellow marker, green marker. O, and don't forget newspaper like I did in the beginning.
Beforehand, I wrote out the word yellow on a sheet of paper. I also drew a yellow circle. I also wrote out the word blue on another sheet of paper and drew a different shape(I chose, square). Emery has been extremely interested in letters and words lately. With that, I am writing out common words when we do activities to keep her curiosity exposed and further develop her
linguistic intelligence. When doing this I simply read the word, and put most emphasis on the first letter and sound in a word. With little ones, it's a great place to begin. It's amazing to see how simple exposure is turning over in real-life situations. The other day Em read two of her classmates names without any prompting :) I also threw in the shapes and wrote in matching colors to expose her
spatial intelligence.
On to business... I called Em out to the kitchen and told her we were going to do some mixing and see what happens...?? I showed her the paper that said blue and the blue paint at the same time, stating, "we are going to mix blue & yellow together and notice what happens", when I said yellow I also showed her the yellow word card and yellow paint. She naturally observed the different shapes. She went to work.
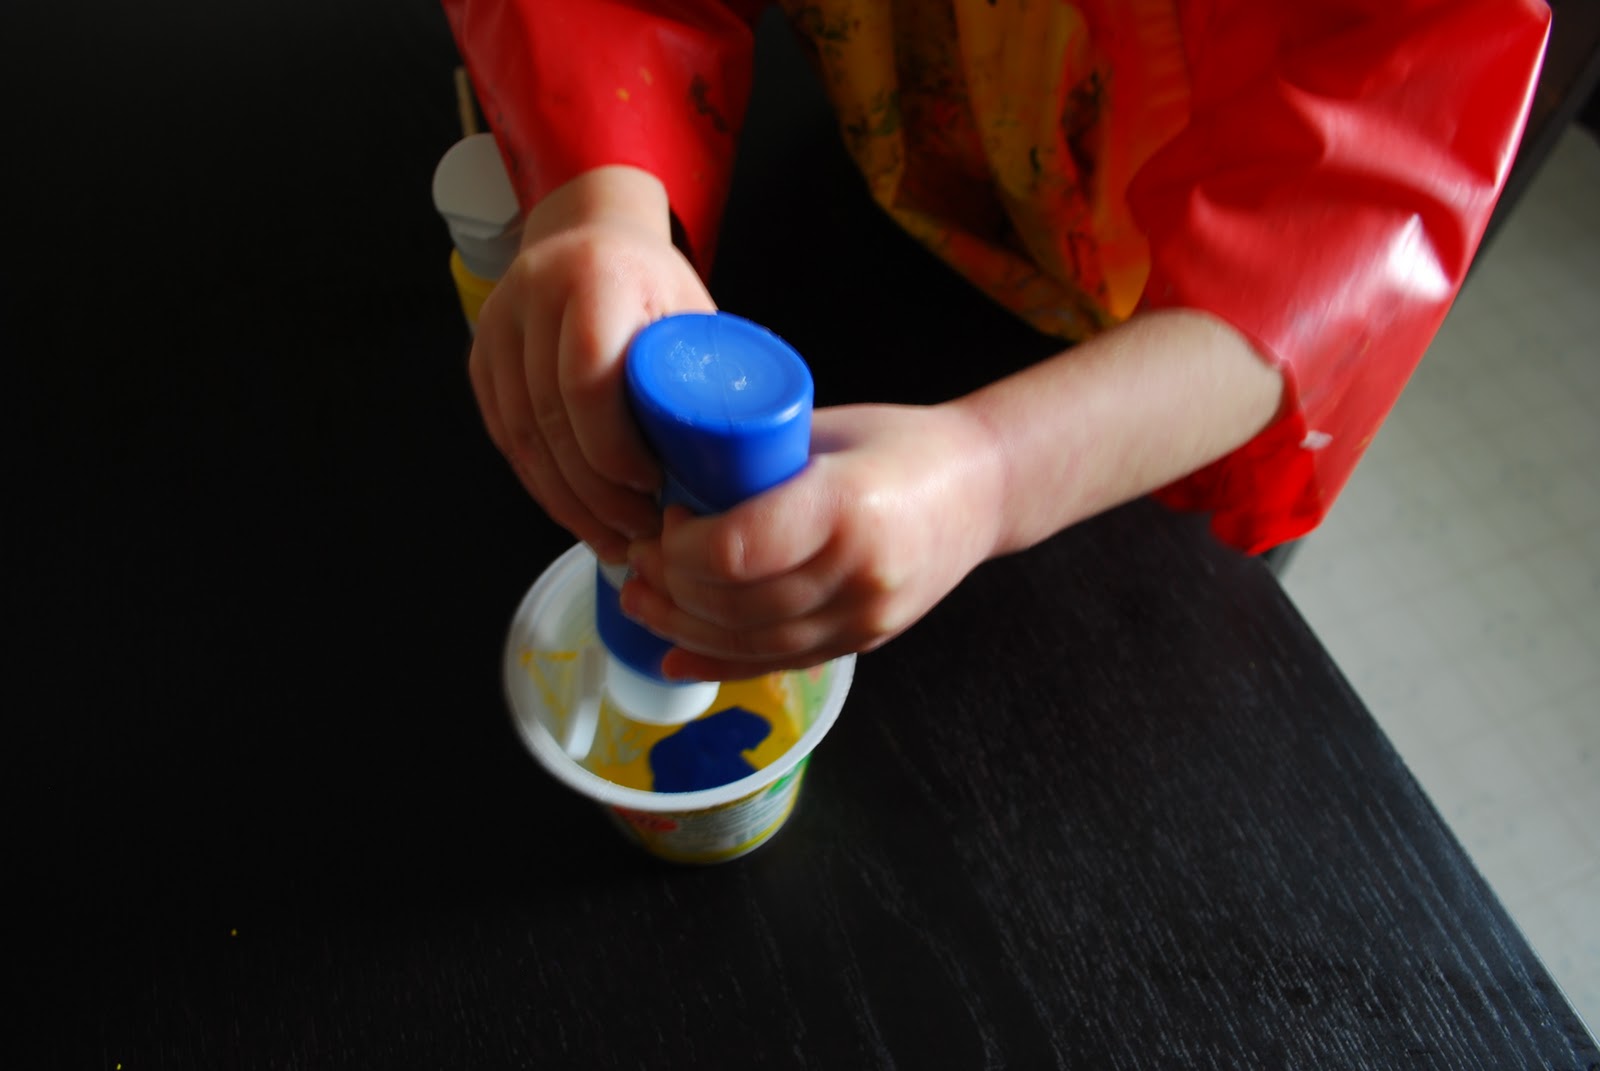
She chose to add the yellow first & then the blue. I like using the squeezable paints because she is capable to now. Her fine-motor skills are at this point. If your child's aren't, I recommend using Crayola paints for kids. You can just scoop the paint in the bowl for your child if need be. Let the mixing begin.
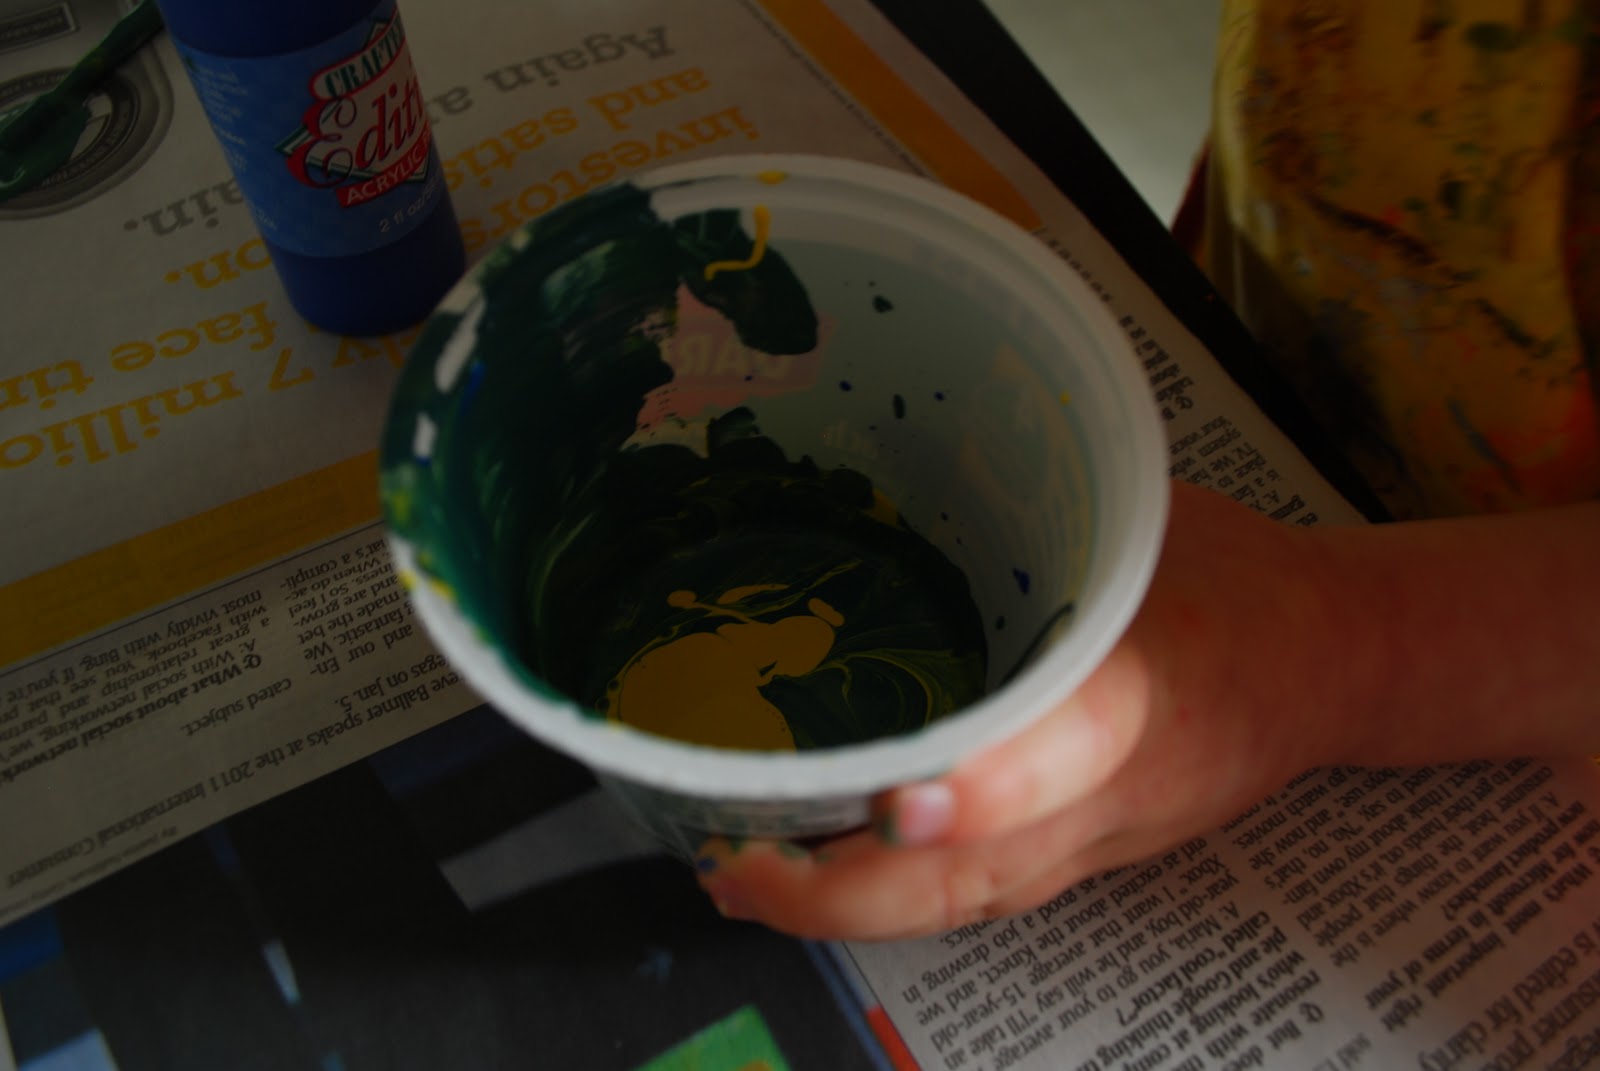
Here is her first green! After she noticed the result, we had a quick discussion about how when blue and yellow are mixed together they make GREEN!
She really was more interested in more mixing. Which is great. In the teaching world we call this hands-on experience. Another way to think of it is as
bodily-kinesthetic.
This is when I realized I should have newspaper out....what was I thinking??? Yep, that is green paint on the table, I had to quickly scrub off :) Much better!
The exploration lasted a good 20 to 30 minutes. Here is a little of the end result. She kept mixing and mixing and used up all the bottles. We painted shamrocks on the newspaper, which were eventually covered by a blur of green :)
In the midst she started smothering her hands in her pile of dumped paint. She preceded to make hands prints. I pulled out a clean sheet of newspaper for her. It led me to the cutest idea. Wouldn't this make cute wrapping paper? If you are the super Re-usable type you can use the newspaper. If not, local craft stores sell rolls of plain white wrapping style paper. It even comes in nice little rolls just like wrapping paper. I think there are other colors too. I used this style of wrapping paper back in my teaching days when we made parent gifts. I let the students decorate their wrap how they chose. I will keep this newspaper forever, those handprints are PRICELESS!!
The final result. Check out that hand. With a little soap and water it came off in no time at all ;)
Later on that evening I displayed a little equation using magnets from the refrigerator and the sheets of paper from earlier.If you don't have magnets, you can always write the symbols on paper. To help prep for this part, in the midst of Em's exploration, I had her place some green she created on a blank sheet of paper. I wrote the word green on this paper. I constructed the equation on the table so when she came back through the kitchen she would be intrigued. Once she noticed it we discussed how to read the equation, " Yellow plus blue equals green." This brief exposure is a reinforcement to the
spatial intelligence along with the logical-mathematical intelligence.
I hope you and your little ones have fun mixing away! This valuable lesson can be taught to children of all ages! My favorite part to color mixing is the unique colors created!! For older children, I suggest creating a color wheel and creating colors for personal artwork. Anything personal is
intrapersonal. For the babes & little tots, I suggest purchasing some Crayola paint for toddlers and babies...it's safe for the kiddos :) Spoon some in a large mixing bowl. Give them a large wooden spoon and let them mix away. O yeah, and most importantly, prepare for a MESS!! When painting and crafting, I used to put the wipeable food tarps around Em when she was a little babe. I'd also use lots of newspaper and painter's tape.
Enjoying discovering the new shades of pre-Spring GREEN,
M.I. MaMa


No comments:
Post a Comment